Introduction: Delving into the Heart of Sump Pump Maintenance
In the labyrinthine underbelly of many homes lies a crucial sentry, guarding against the insidious threat of flooding: the sump pump. Nestled in a basin beneath the lowest point of the basement, this unsung hero works tirelessly to dispel water seepage, ensuring a dry and habitable abode above. However, like any vigilant sentinel, the sump pump occasionally requires maintenance to remain at its optimum performance. One essential aspect of this upkeep is removing the sump pump cover, granting access to its inner workings for inspection, cleaning, or repairs. Embark on this step-by-step guide as we delve into the intricacies of sump pump cover removal, empowering homeowners with the knowledge to maintain their flood-fighting guardians effectively.
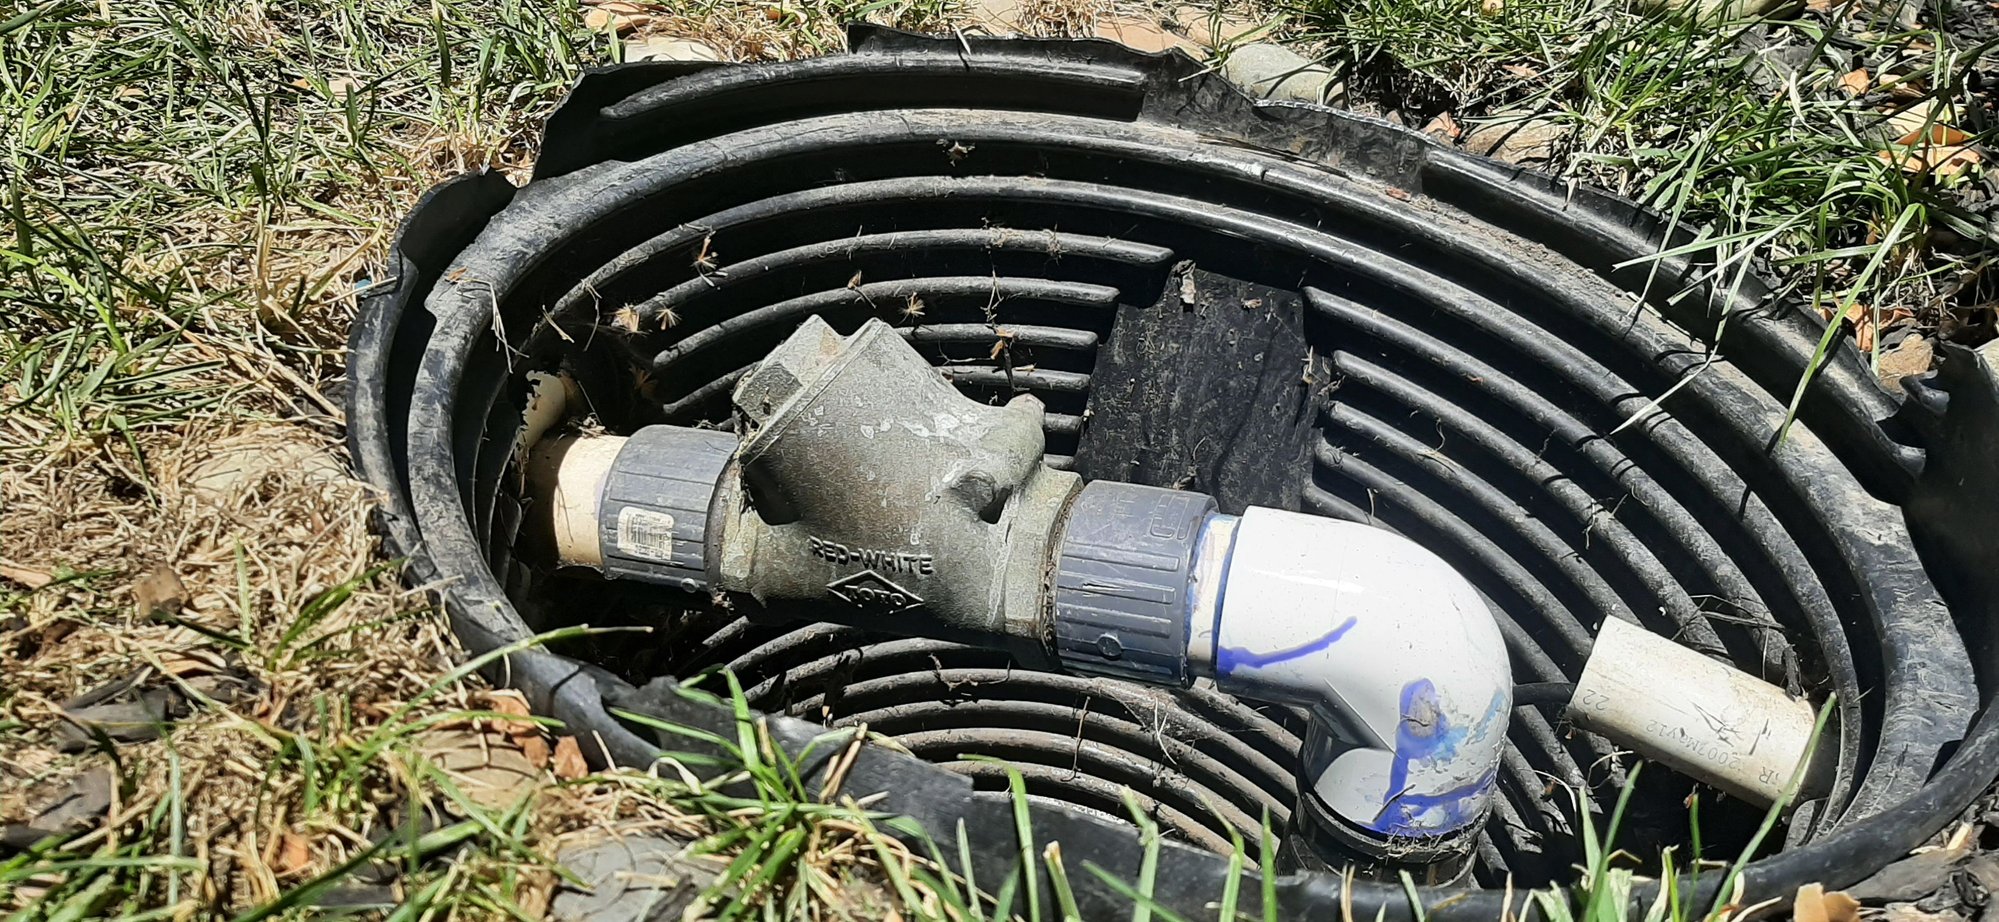
Image: www.doityourself.com
Understanding Sump Pump Cover Removal: A Foundation for Success
Sump pumps, often concealed beneath protective covers, are designed to safeguard these vital components from debris, moisture, and accidental damage. Removing the cover is the gateway to a host of maintenance tasks, including cleaning the pump, clearing debris from the basin, and inspecting various parts for signs of wear or damage. Familiarity with the specific type of sump pump installed is crucial, as cover removal methods can vary slightly depending on the model and design. By carefully following the outlined steps and adhering to safety precautions, homeowners can confidently remove their sump pump cover, paving the way for essential maintenance and ensuring the continued operation of this indispensable basement guardian.
Step 1: Safety First – Establishing a Secure Work Environment
As with any task involving electrical components, safety precautions should be prioritized before initiating the sump pump cover removal process. Foremost, disconnect the power supply to the sump pump either at the circuit breaker panel or by unplugging the pump’s electrical cord. Neglecting this crucial step could result in electrical shock, posing a severe safety hazard. Additionally, don appropriate personal protective equipment (PPE), such as gloves and eye protection, to minimize the risk of injury from sharp edges or debris. With safety precautions in place, you can confidently proceed to the next step, ensuring a secure and controlled work environment.
Step 2: Identifying Cover Fasteners – A Path to Successful Removal
Sump pump covers are typically secured with either bolts, screws, or latches, depending on the model. Carefully examine the cover’s edges to determine the type of fasteners used. If the cover is fastened with bolts or screws, locate the corresponding wrench or screwdriver. In the case of latches, identify the release mechanism and prepare to disengage it. Understanding the nature of the fasteners will guide you toward the appropriate tools and techniques, ensuring a smooth and efficient cover removal process.

Image: ohiobasementauthority.com
Step 3: Disengaging Fasteners – Releasing the Sump Pump Cover’s Grip
With the appropriate tools at hand, proceed to remove the cover fasteners. If using a wrench or screwdriver, carefully loosen the bolts or screws without overtightening or stripping them. When removing latches, refer to the specific release mechanism for your sump pump model. By applying steady pressure and following the manufacturer’s instructions, you can effectively disengage the fasteners, allowing for the safe removal of the cover.
Step 4: Lifting the Cover – Uncovering the Sump Pump’s Inner Workings
Once the fasteners are removed, gently lift the cover to expose the sump pump basin and components. Exercise caution while lifting the cover, as it may be heavier than anticipated. Steady the cover as you remove it to prevent it from falling or causing damage to the pump or surrounding area. With the cover removed, you now have direct access to the sump pump, facilitating inspection, cleaning, or repairs as needed.
Step 5: Reinstalling the Cover – Securing the Sump Pump’s Sentinel
After completing the necessary maintenance tasks, carefully replace the sump pump cover. Align the cover securely over the basin and insert the fasteners. Whether using bolts, screws, or latches, tighten the fasteners by hand until snug. Avoid overtightening, as this could damage the cover or fasteners. Double-check that the cover is fastened securely to prevent any water seepage or movement during pump operation.
How To Remove Sump Pump Cover
Conclusion: Empowering Homeowners – Guardians of Basement Dryness
Removing a sump pump cover is a straightforward task that empowers homeowners to maintain and ensure the continued operation of this essential flood prevention device. By following these detailed steps, homeowners can confidently access and inspect their sump pumps, keeping their basements dry and protected. Regular maintenance, including cleaning and debris removal, can prolong the life of the sump pump, providing peace of mind and safeguarding homes against costly water damage in the event of heavy rainfall or other water-related emergencies. Embracing the role of vigilant guardians, homeowners can proactively maintain their sump pumps, ensuring a dry and habitable living environment for themselves and their families.
